


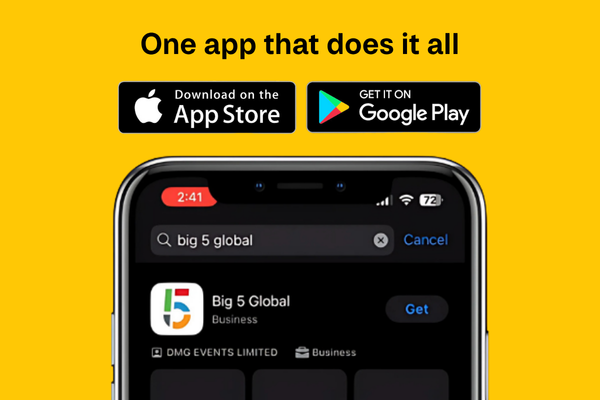
Learn how to access the
event app and its features
Step 1: Activate your account
Use your email registered for the event to log in
You will then receive an OTP number to your designated email address, use this to log in and set up your profile.
Step 2: Set up your team
Make sure your team profiles are ready to get the most out of meetings.
• Click “My Team” in the app
• Select “Team Members”
• Review pending team members and accept or reject requests
• Once done, you can download all leads across your company as a CSV file for easy tracking
Step 3: Update your company profile
A complete company profile helps relevant buyers find and connect with you. Update your company details on the online exhibitor listing form available in the exhibitor manual to attract more relevant connections.
Step 4: Lead scanning
- Click on ‘Lead scanning’ from the app homepage
- Provide access to your camera to be able to scan the QR code on the attendee’s badge on the event days
- Once scanned, you will be able to rate or add comments for that particular lead
You can then connect through the app, coordinate a meeting or download your contacts information to connect after the event.
Step 5: Export your leads
This can be done via the mobile or web version of the app, we would recommend the web version of the app so that you candownload into a compatible file type.
- Click on ‘More’ in the bottom right corner of the app
- Then click on ‘Export your leads’ option
- You will get an option to export meetings or export contacts and badge scans. Click on ‘export’ to get the data required.
- You can then select either a .csv or .xlsx file type to download your leads.
Please note: Prior to downloading your leads, please ensure that you or the admin has accepted all the exhibiting members in your team so that the leads are collated from across your sales team onsite.
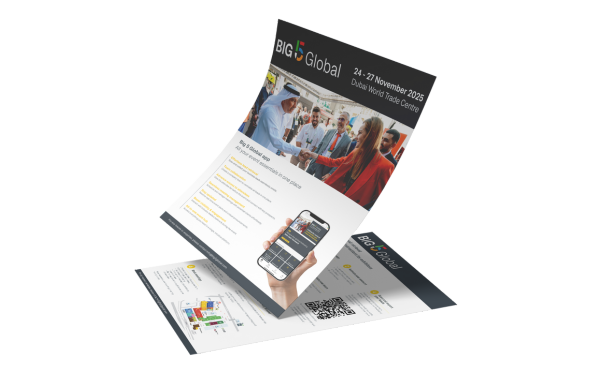
Your quick guide to use the event app and retrieve leads effortlessly
MEMBER OF

dmg events is a leading organizer of face-to-face events and publisher of information services. Our aim is to create dynamic marketplaces to connect businesses with the right communities to accelerate their growth in today’s rapidly evolving landscape.
